
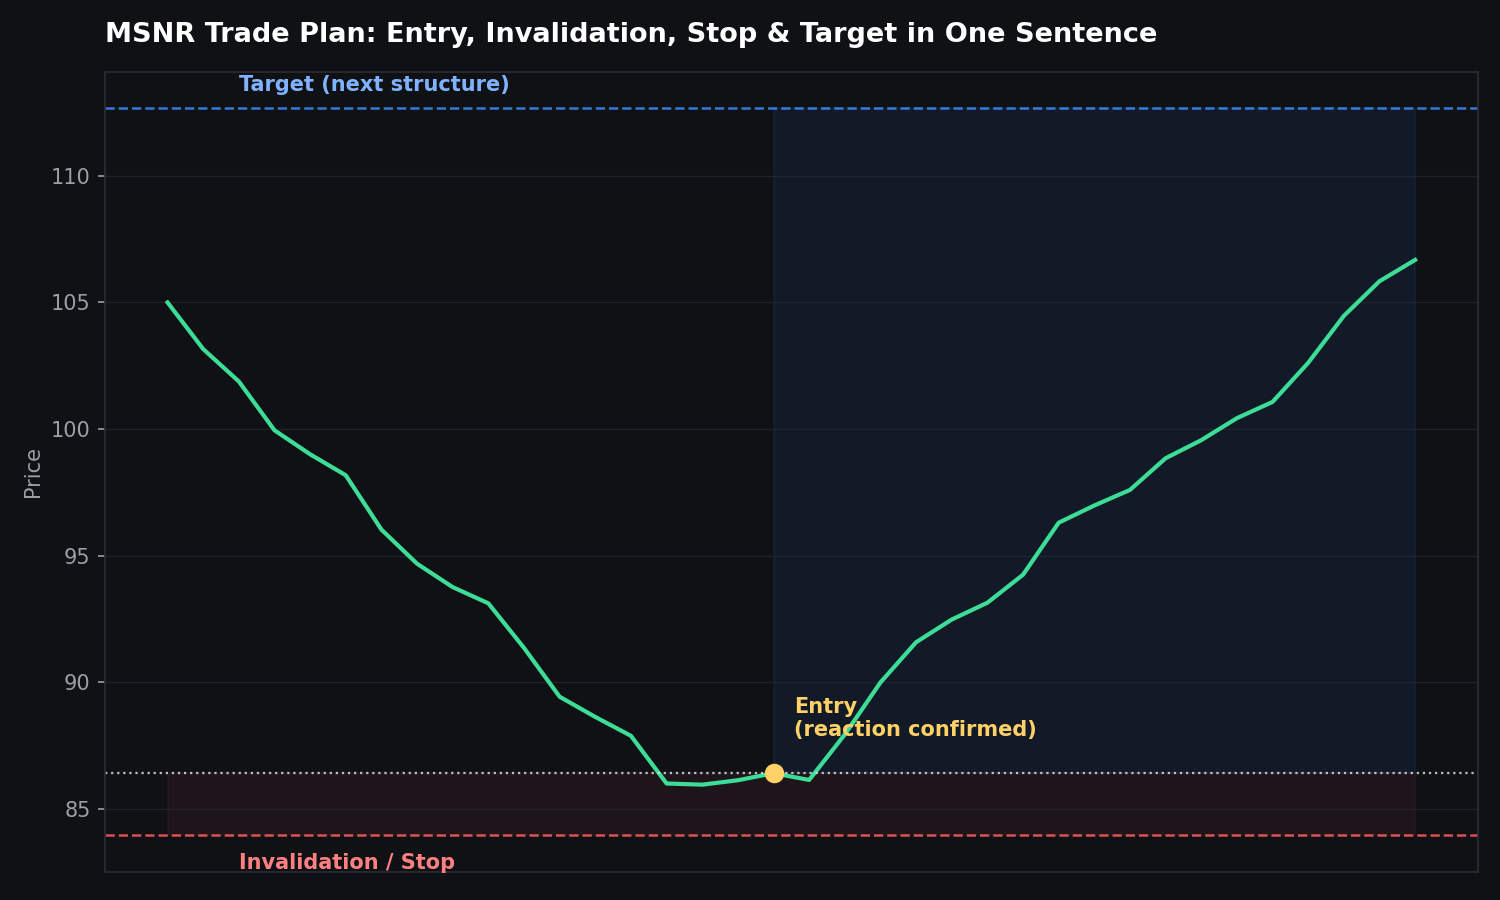
Once you understand what MSNR zones are, the next question is how to actually turn one into a trade. This post walks through a complete MSNR trade plan from start to finish — how to build up to an entry, where to place your stop, and how to set a sensible target.
The MSNR Workflow, Step by Step
- Start on the higher timeframe. Check the bigger picture first so you don’t enter a lower-timeframe setup straight into a major obstacle.
- Mark only the obvious zones. Draw them as areas, not razor-thin lines, based on swing points and levels where price has reacted more than once.
- Identify the current structure. Is price making higher highs and higher lows, lower highs and lower lows, or moving sideways?
- Wait for price to approach your zone. Don’t chase price — let it come to you.
- Read the reaction. Look for rejection wicks, compression, hesitation, or a breakout attempt.
- Build the trade plan in one sentence. Entry reason, invalidation point, stop placement, and target should all be clear before you click buy or sell.
- Journal the result. Screenshot the setup and record the outcome so you can refine your process over time.
Entry Styles
There is more than one valid way to enter an MSNR setup, but every style should connect back to a clear invalidation point:
- Rejection entries — a strong reaction at the zone, such as a long wick or an engulfing candle.
- Breakout-retest entries — price breaks a zone, comes back to retest it, and the old level now acts as the opposite type of level (old resistance becomes new support, and vice versa).
- Range entries — price rejects the edge of a range while the range itself remains intact.
Invalidation, Stops, and Targets
Your stop loss should be linked to invalidation, not to an arbitrary percentage of your account or a round number on the chart. If price reaching a certain level proves your original idea wrong, that is where the stop belongs — placed just beyond normal market noise so it isn’t triggered by ordinary chop. Position size is then calculated backward from that stop distance, not the other way around.
Targets, in turn, should aim at the next real structural obstacle on the chart — the next zone, swing point, or range boundary — rather than a number picked because it “feels” reasonable.

Common Beginner Mistakes
- Drawing too many levels and cluttering the chart until nothing stands out.
- Entering the moment price touches a zone, without waiting for any reaction.
- Ignoring the higher timeframe context entirely.
- Setting stops at arbitrary distances instead of tying them to invalidation.
- Treating every zone as a guaranteed reversal instead of a place to pay closer attention.
A Quick Pre-Trade Checklist
- Have you reviewed the higher timeframe?
- Is the zone genuinely obvious, or are you forcing it?
- Has price shown a tradable reaction yet?
- Is your invalidation level clearly defined?
- Is your stop placed beyond normal noise?
- Have you sized the position based on the stop distance?
No trade plan is complete until invalidation and position size are settled. MSNR works across forex, crypto, stocks, and indices, but like any framework it only proves itself through consistent application and honest journaling — so treat every trade as one more data point, not a one-off bet.