
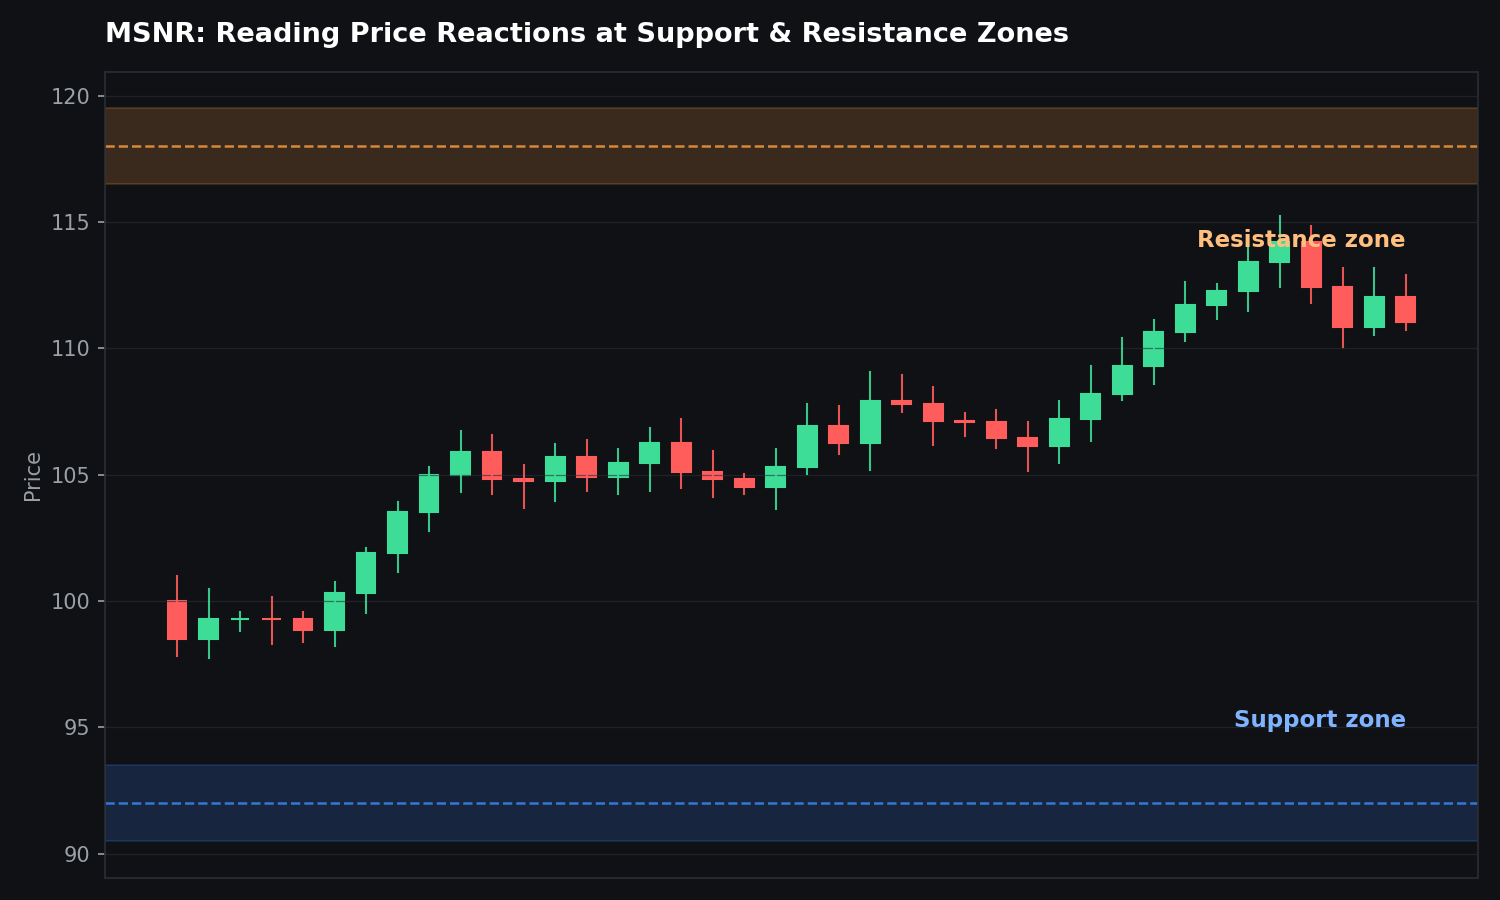
If you have spent any time around forex or crypto trading communities lately, you have probably run into the term MSNR. It shows up in trading Discords, YouTube breakdowns, and PDF guides passed around between traders, but it is not always explained clearly. This post breaks down what MSNR actually means, why traders use it, and how to start reading a chart the MSNR way.
What Does MSNR Mean?
MSNR is a practitioner-built framework for reading price action around support and resistance. Rather than treating support and resistance as thin, exact lines, MSNR treats them as zones — areas on the chart where price has reacted before and is likely to react again. The goal is not to predict the future with certainty, but to trade from locations where the odds of a meaningful reaction are higher.
Support is simply an area where buyers have previously stepped in and stopped a decline. Resistance is the opposite — a zone where sellers have shown up and capped a rally. Because real markets are messy, these zones allow room for wicks, small breaks, and retests instead of demanding a “perfect” touch of one exact price.

The Core Pillars of MSNR
Most MSNR frameworks come back to the same five building blocks:
- Context — Is the market trending, ranging, or transitioning between the two?
- Zone — Where are the most obvious support and resistance areas, based on swing highs and lows?
- Reaction — What actually happens when price reaches that zone: rejection, hesitation, or a clean break?
- Invalidation — At what point is the trade idea simply wrong?
- Risk — Does the position size and stop distance make sense once costs are factored in?
Support can break. Resistance can break. Ranges can fail. MSNR does not claim otherwise — it is an observation-based approach, not a predictive one. That is exactly why the “reaction” and “invalidation” steps matter as much as the zone itself.
Beginner Rules Worth Following
- Mark only the obvious zones — swing highs, swing lows, and clear range boundaries. Avoid cluttering the chart with too many levels.
- Always check the higher timeframe before taking a trade on a lower one.
- Wait for price to actually reach your zone. Don’t build a trade plan in advance of price getting there.
- Define invalidation before you enter, not after.
- Place stops beyond normal market noise, tied to your invalidation level — not an arbitrary percentage.
- Target the next structural obstacle on the chart rather than a random number.
- Journal every trade with a screenshot so you can review what actually worked.
None of this requires exotic indicators. MSNR is deliberately simple: mark the obvious zones, wait for price, read the reaction, and only then decide whether there is a trade worth taking. In the next post, we’ll walk through a complete MSNR trade plan step by step — from entry to invalidation to target.